Assigning Interfaces
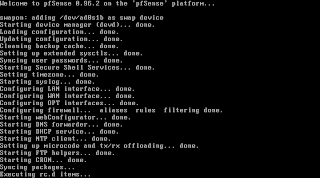
The first time pfSense boots up it will ask you to assign the interfaces if it has not found a config file or interface configuration is different from what was found in the config file.
VLAN's
You now have the option to assign VLANs. If you don't need VLANs or don't know what VLANs are, choose "No" here. VLANs are optional and are only needed for advanced networking. You as well need VLAN-capable equipement if you plan to use it. (Better description and config steps still needed here)
LAN, WAN, OPTx
The first interface it asks you to assign is the LAN interface. If you know the interface you want to assign to LAN, enter the name of the interface like "fxp0" and hit enter.
The second interface you have to assign is the WAN interface. Enter the appropriate interface like "fxp1" and hit enter again.
At least you need two interfaces (LAN and WAN) to setup pfSense. If you have more interfaces available, you can go on and assign them as OPTx interfaces. The procedure is the same like previous one.
Auto Assigning Interface
There is another procedure to assign interfaces which is especially designed if your Nics are all of the same kind and you don't know which physical nic matches which detected nic as they all then will appear for example as fxpX. In this case you simply can enter "a" when you are asked for the nic name.
PfSense now is waiting for a linkup event at one of the nics. Just plug in a cable to the nic you want to assign and wait for the link light to turn on at the nic. Hit enter after that. pfSense has detected the linkup and you can continue with the next interface.
If you have no more interfaces left just hit enter without entering a nic name and apply the settings by confirming them with "y".
Finishing steps
PfSense now will make the finishing touches to configure the interfaces.

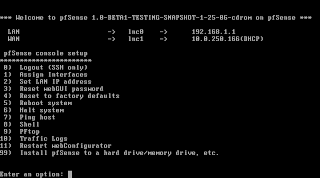
After it went through the configuration you'll end up with a shell menu and a number of options.

No comments:
Post a Comment